Hello! and welcome back. Today we’re up to texturing, which is probably my favourite part of the 3D pipeline. I have decided to use photos to create the texture rather than relying on my inexperienced digital painting skills. (And it also saves time without sacrificing anything design wise)
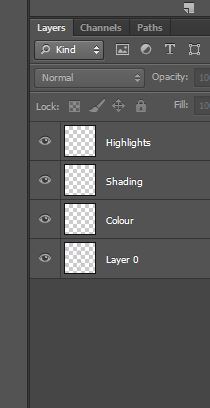
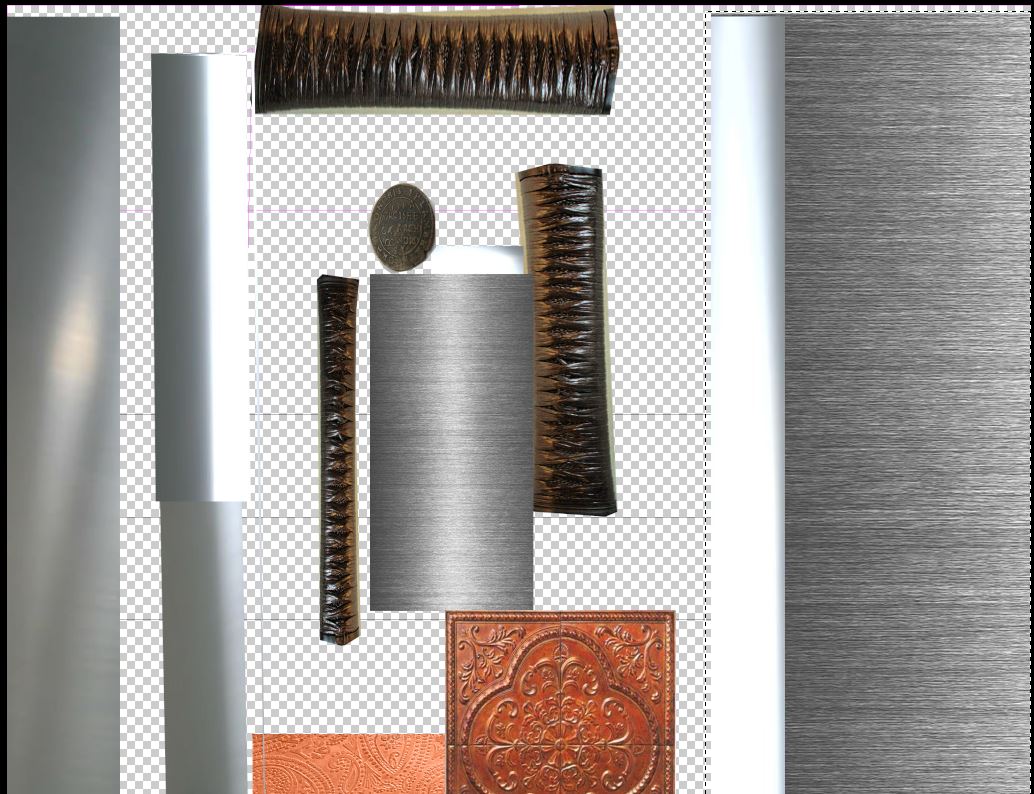
This is the layer set up in photo-shop currently. This will change for sure, after I paste each part of the texture in.
The chosen texture for the grip of the sword was the first to be pasted in on photo shop. To keep an eye on how the texture is looking in relation to the sword, I also kept 3DS max open and applied the work in progress as a material. The projection of the grip itself looks pretty nice so far, without any obvious stretching.
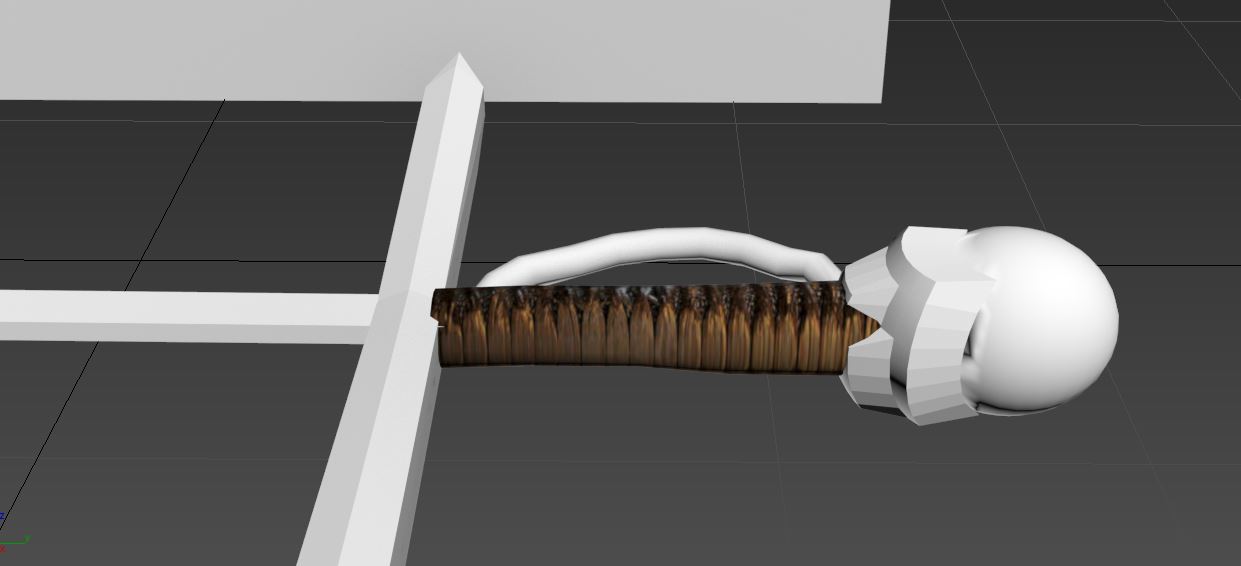
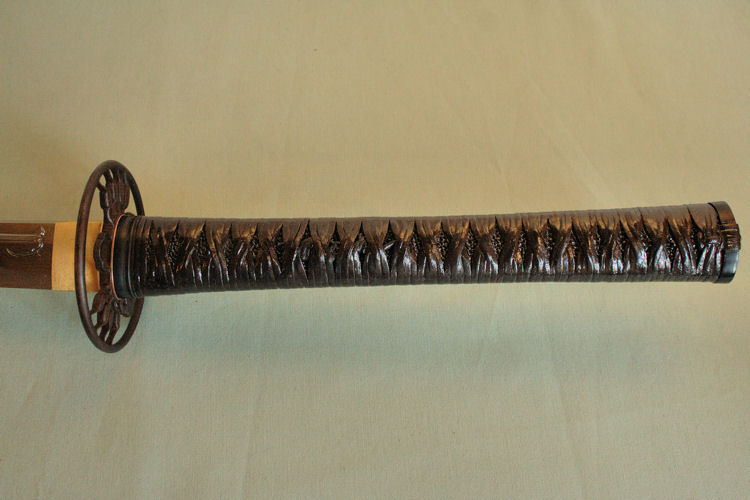
The photo used was of a traditional stingray wrap from a katana. It just looks really nice and has a good fit to the grip, so that’s what I ended up using.
Here is the original photo:
Next up, the Pommel. I went for a more bronze kind of look for that. And you may notice that I have indeed split the pommel into two parts after all. If you read the last post about the UV unwrapping of the sword, I said that I left it as one part. I later decided it would look better if I split it in two parts rather, as the whole shape was a bit hard to unwrap.
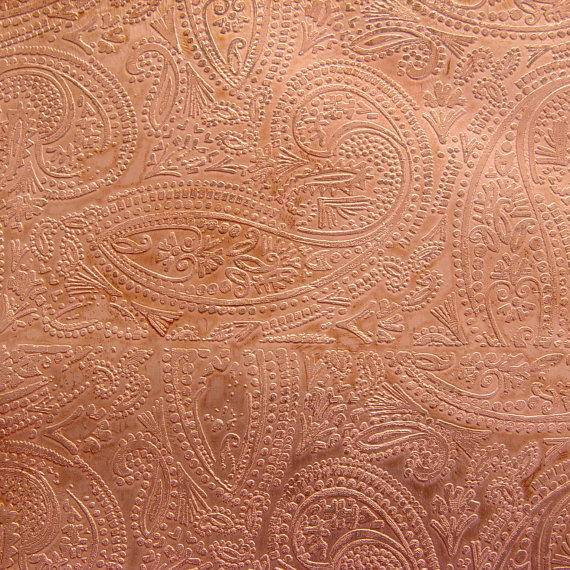
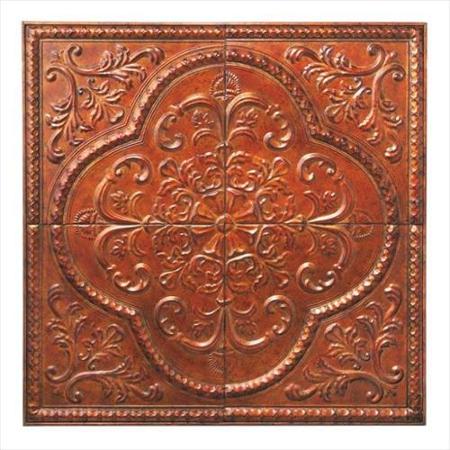
I went looking for ornate bronze etchings to cover the pommel and decided these were pretty suitable.
This is what they look like when applied:
I apologise for not taking a better photo, this was later changed to match the two above images.
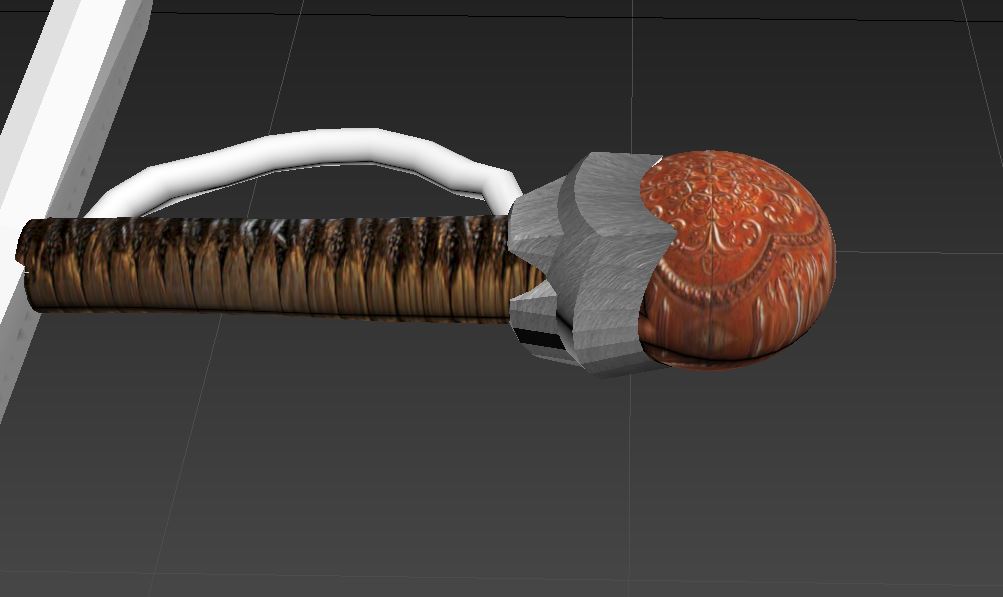
This is what the final product came out like. Apart from some minor stretching of textures on the pommel, I am pretty pleased with the end result.
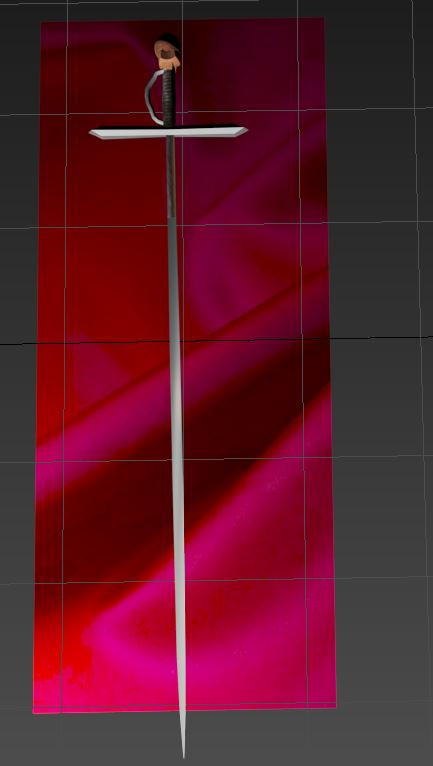
Finally, this is what the sword looks like with the textures applied: