Composition and Final Thoughts

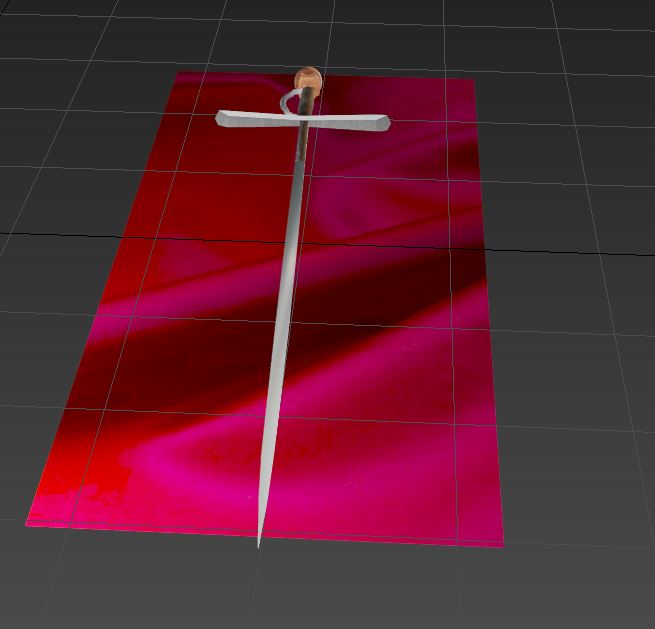
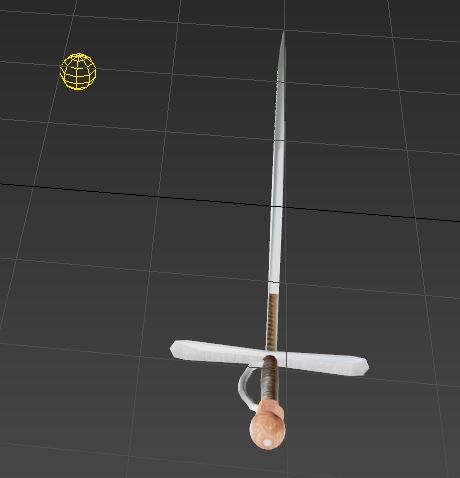
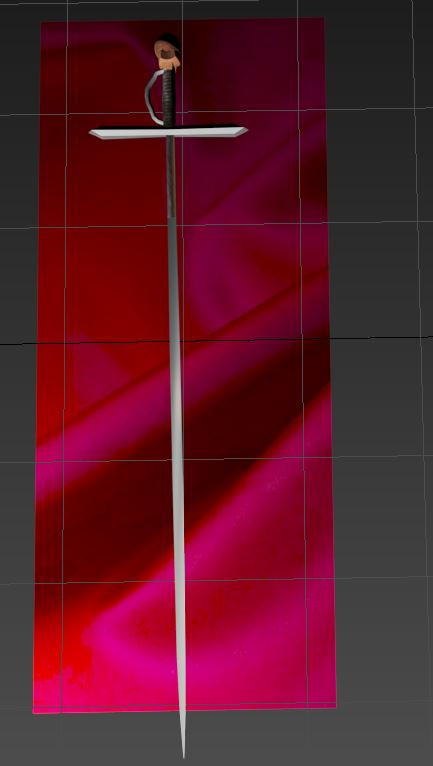
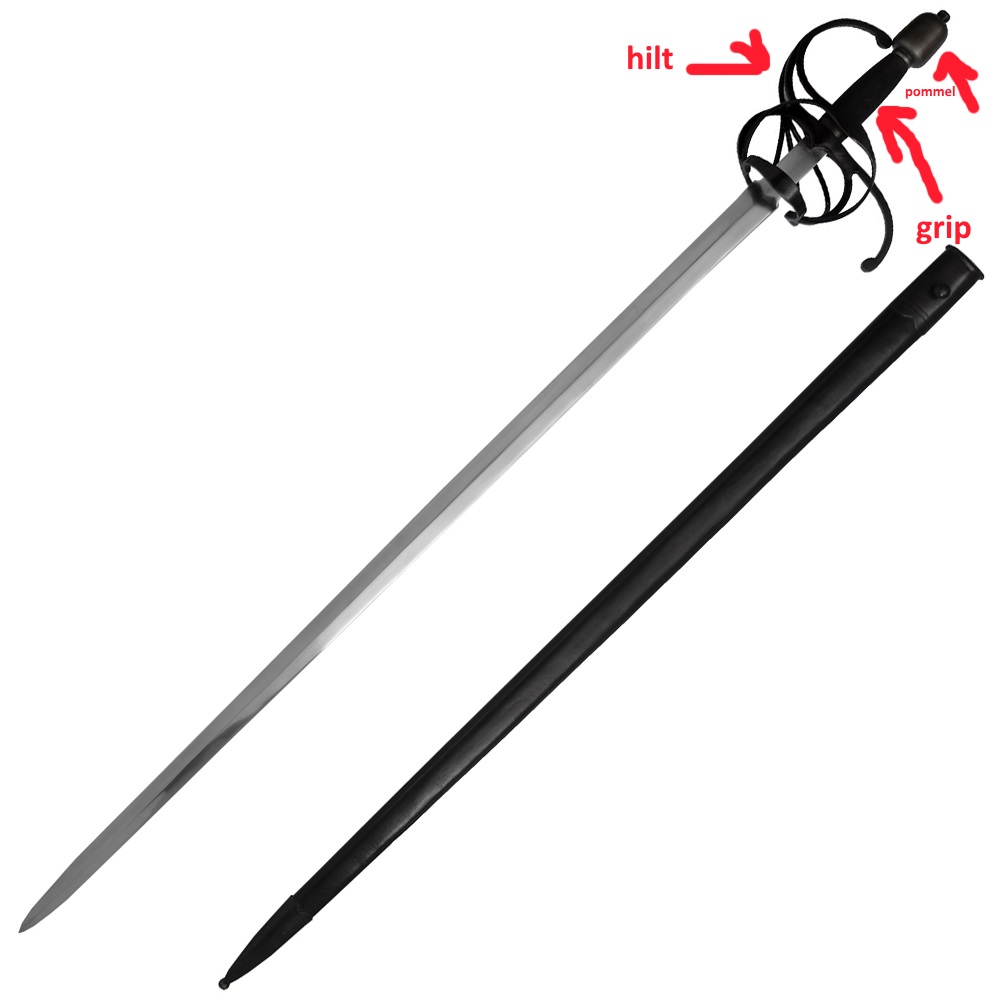
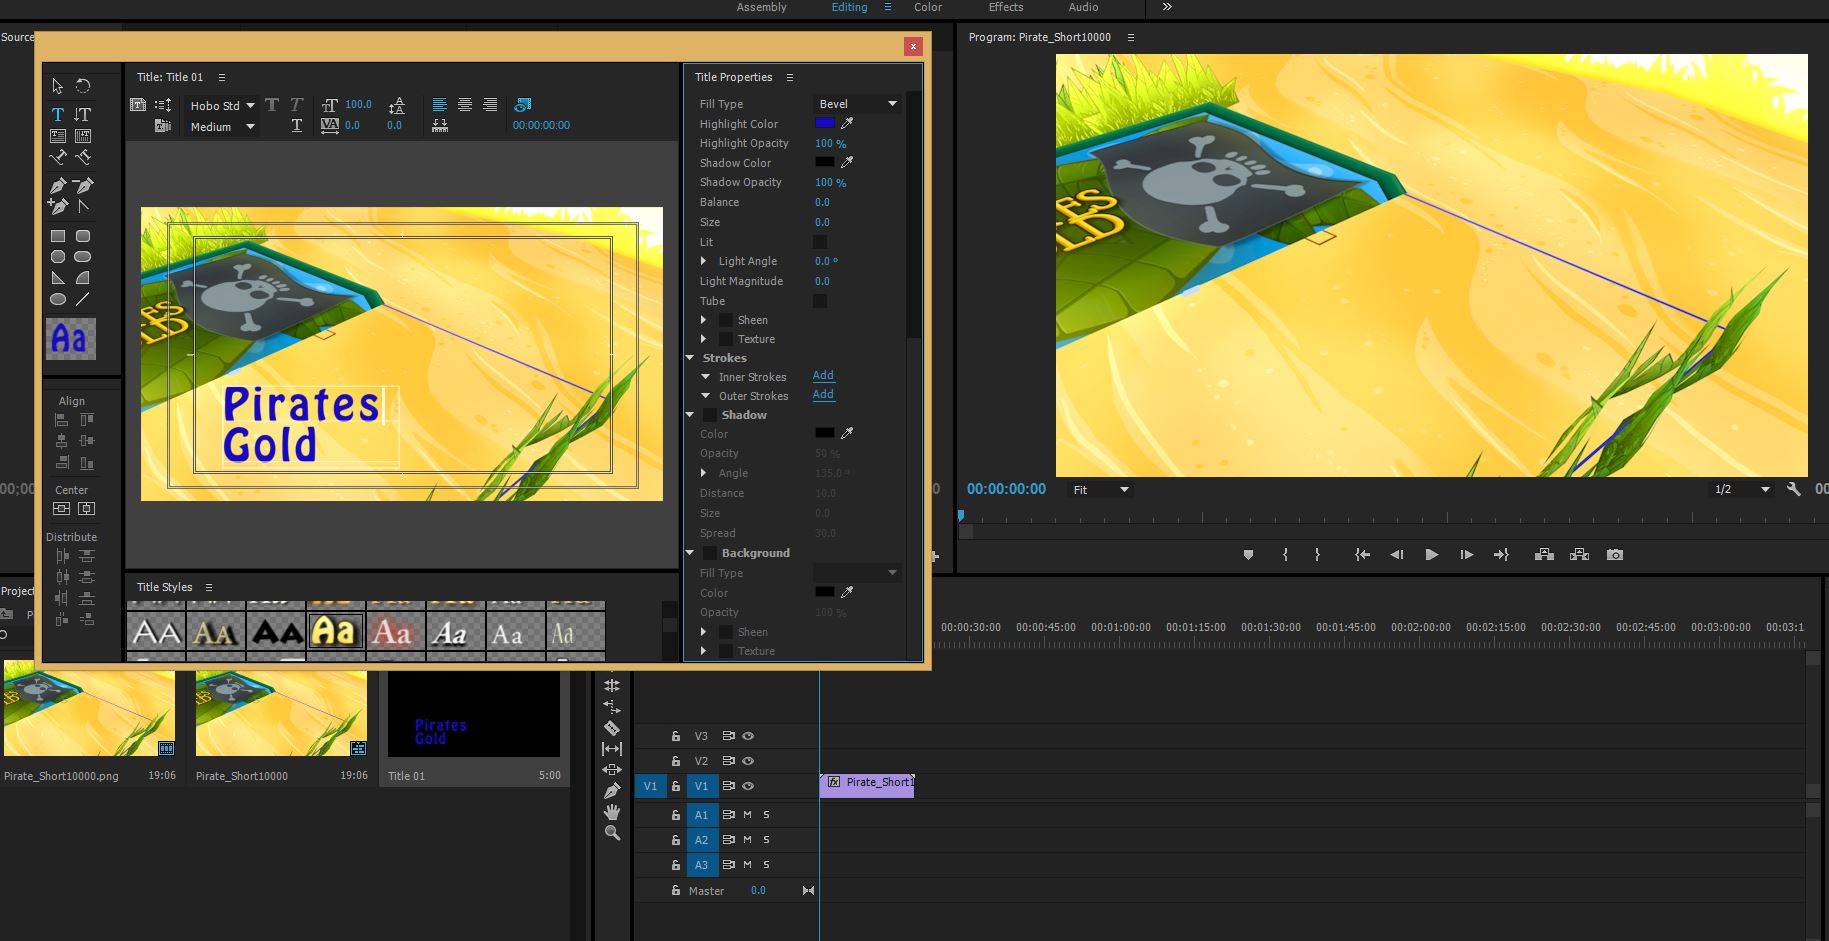
Well, we have reached the the end of the 3D production pipeline once again friends. This time you followed the creation of a sword, from start to finish. The final step for us is the composition in Adobe Premiere Pro.

Its time to mix my animation with a few titles mixed in.

The final video lasts for half a minute and cycles through the stages of the build.

Premier Pro

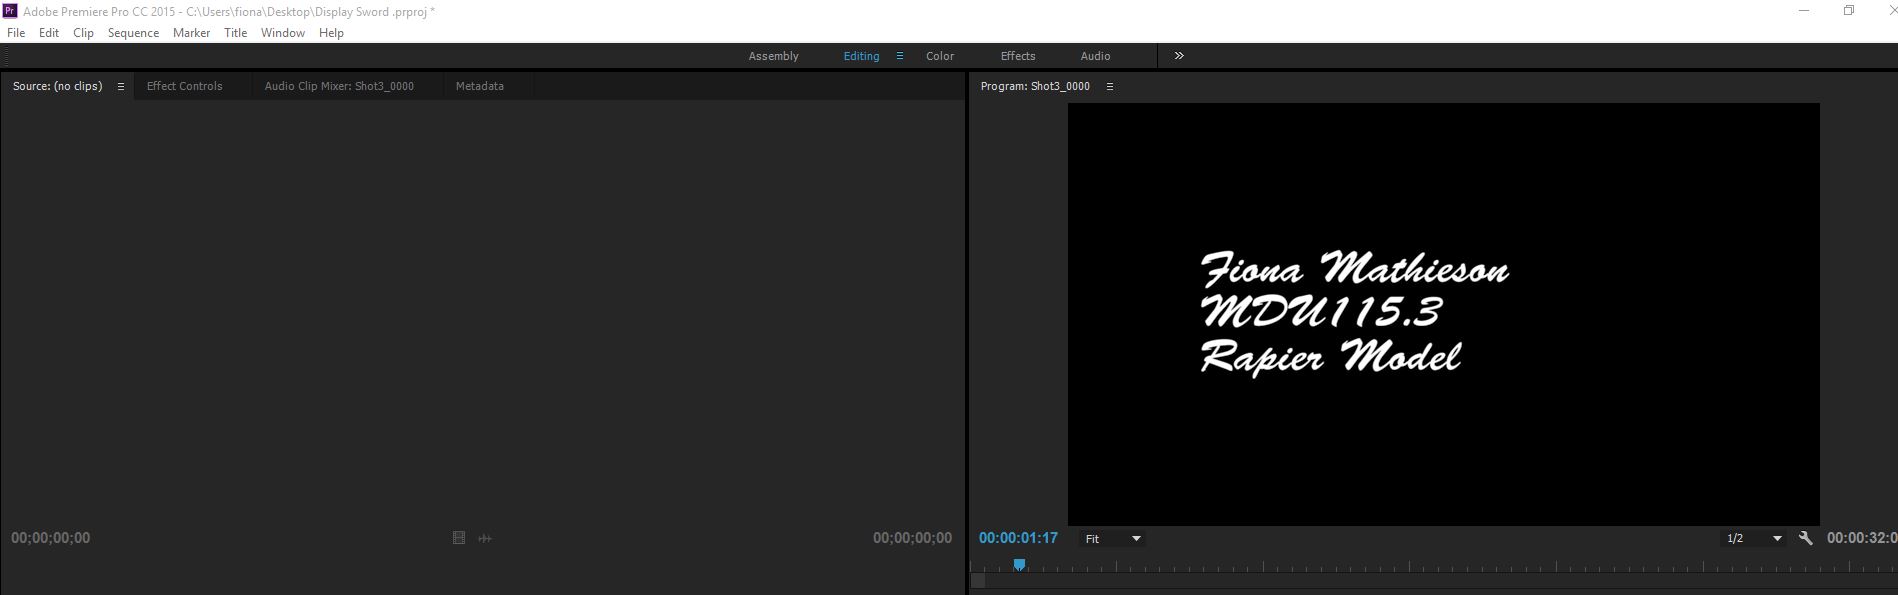
There really isn’t much to talk about technically with this one. A few titles were added in along with the audio, which was nice and royalty free and from incompetech.com if you want to check it out.

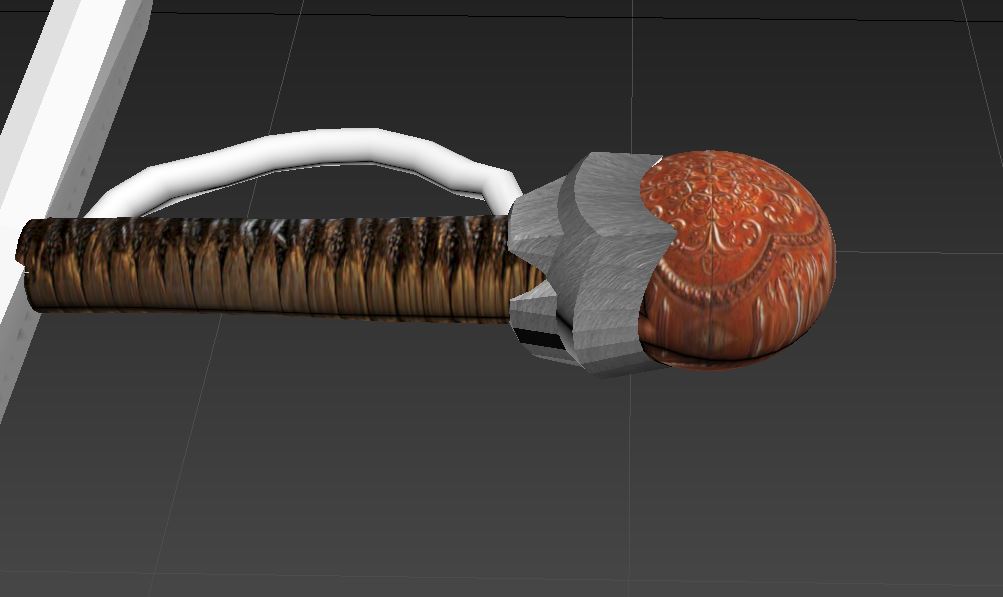
Now, talking of what could be done with my 3D model.

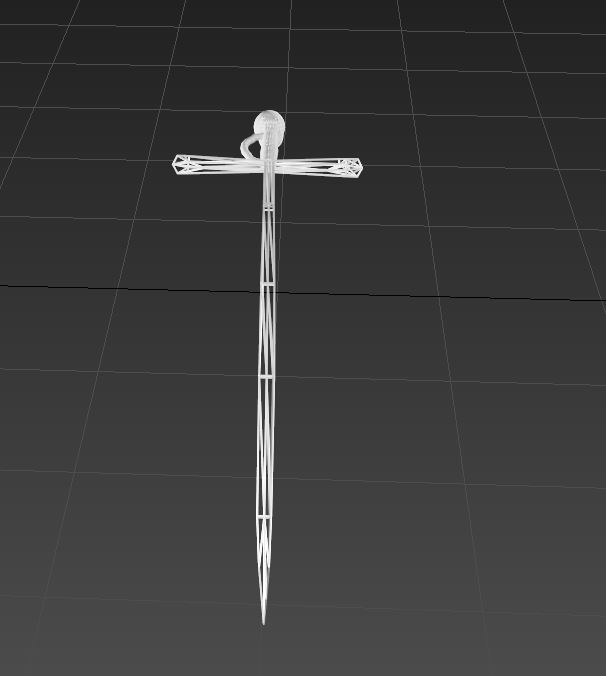
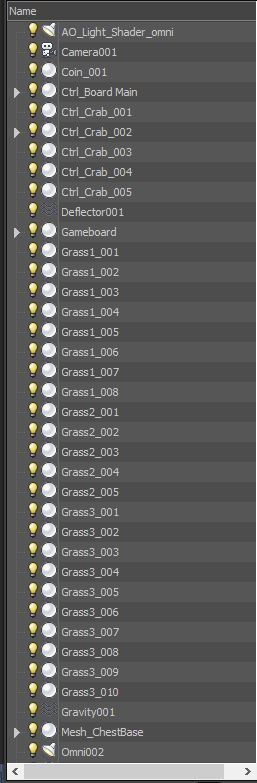
As it stands it might make a nice addition to a mobile game if optimised.

According to the forums at unity3d.com the best way to optimise a  model for mobile is to make sure that:

  1. the poly count is fairly low
  2. not many materials are used
  3. and to use little to no shades.

Rapier Part 5: Lighting, Animation and Rendering

Hello and welcome back to my blog. Today we’ll be working on the lighting and rendering of my 3d asset.

First thing’s first. Lighting. On my last project I had a bit of trouble with some over-exposed lighting, so I’d like to try to avoid that this time.

lighting one

I also messed around a bit and considered adding a plane with a cloth like texture for decoration, but this was scrapped.

Overall I added in two photo-metric lights and one omni light. The lighting looked pretty dynamic following this.

Lighting 2

So with that, I think it is now time I rendered.

This time it will be a little different however as I also would like to create an animation to show off the different layers of the build.

Animation

The animation of the object will be as follows. I am aiming to have it sort of spin round and go through the different layers. Starting from the wireframe, right through to the finished composition with textures.

Wireframe

The only thing I really needed to add was another texture to stand in for the wire frame other than that I just hid the textures to get the shot for the unpolished version of the sword.

I rendered out 3 different shots:

Sword Textures 1

Rendering

Some things I found out about 3D modelling for games

I was researching this in relation to the Rapier I am currently building in max, and I went looking for suggestions about things I should really know if I were to say import my finished model into a game engine, and also things to keep in mind if I’m modelling for games.

I came across countless articles, but this one linked below, written by Antony Ward, author of Game Character Development in Maya (2004), Game Character Development (2008) and 3D Modeling in Silo (2010), articulated the information in a way that wasn’t too simple, but was still understandable for someone still learning to grasp the concepts and terminology of 3D, such as myself.

Simply, titled ‘How to create character models for games: 18 top tips’, Ward goes into great detail about things he has learned about modelling for games in his years of working in the industry.

Wards invaluable advice, provided me with a plethora of ideas and I have selected 3 of his 18 tips that stuck with me.

  1. know your restrictions. – Apparently, when making a model think carefully not only about your polygon restrictions, but also think very carefully about the environment, which units you’ll be working in and also what exactly the model will be used for. Will it be animated? If so which bits need to move?
  2. Do your research.  Keep a folder of reference images. Building from memory is fine, but even the most talented of artists still keep folders of images to work from. Building something without it is like drawing with your eyes closed.
  3. Start simpleWhen you start working on your character, don’t rush in and try to create a fully detailed head or hand: this can come later. Block out the whole figure first using basic primitives and stitch them together. I personally like to start by using cylinders.

    This will give you a broad overview of the character’s proportions, and an immediate feel for how it will look. As an added bonus, this rough shape can be passed on to be rigged, and an animator can start blocking out some early moves. (Ward, 2011)

    http://www.creativebloq.com/how-create-character-models-games-18-top-tips-9113050

Bibliography:

Ward, A. (2011). How to create character models for games: 18 top tips | 3D modelling | Creative Bloq. Creativebloq.com. Retrieved 28 August 2015, from http://www.creativebloq.com/how-create-character-models-games-18-top-tips-9113050

Rapier part 4: Texturing

Hello! and welcome back. Today we’re up to texturing, which is probably my favourite part of the 3D pipeline. I have decided to use photos to create the texture rather than relying on my inexperienced digital painting skills. (And it also saves time without sacrificing anything design wise)

Layer set up

This is the layer set up in photo-shop currently. This will change for sure, after I paste each part of the texture in.

The chosen texture for the grip of the sword was the first to be pasted in on photo shop. To keep an eye on how the texture is looking in relation to the sword, I also kept 3DS max open and applied the work in progress as a material. The projection of the grip itself looks pretty nice so far, without any obvious stretching.

Handle textured

The photo used was of a traditional stingray wrap from a katana. It just looks really nice and has a good fit to the grip, so that’s what I ended up using.

Here is the original photo:

katana

Next up, the Pommel. I went for a more bronze kind of look for that. And you may notice that I have indeed split the pommel into two parts after all. If you read the last post about the UV unwrapping of the sword, I said that I left it as one part. I later decided it would look better if I split it in two parts rather, as the whole shape was a bit hard to unwrap.

ornate copper ornate metal

I went looking for ornate bronze etchings to cover the pommel and decided these were pretty suitable.

This is what they look like when applied:

progress step 3 texture

I apologise for not taking a better photo, this was later changed to match the two above images.

finished texture

This is what the final product came out like. Apart from some minor stretching of textures on the pommel, I am pretty pleased with the end result.

Finally, this is what the sword looks like with the textures applied:

Sword Final

Rapier part 3: UV unwrapping

Well here we are again. I’m finally up to unwrapping the sword. So, the first thing I really thought about was how I could unwrap the pieces of the sword economically. After all, there isn’t really a lot of room to make the pieces huge. As I have opted to using photographic sources to help create my texture for the rapier, I will have to keep an eye on the stretching.

Blade UV

I decided to split the blade into two as the textures will be slightly different.  After that I began working on the uv’s for the pommel, and then eventually the rest of the sword.

Perhaps the greatest challenge was unwrapping the pommel, which provided to be somewhat of a pain. I was unsure about the best way to unwrap such a strange shape. In the end I kept it as one piece. There is some definite stretching still to rectify.

UV template

This is the finished uv map of the rapier.

Making a 3D asset Part 1: Researching the Rapier

This post marks the first of a few revolving around my next project, which will be an attempt at creating a 3D asset for a game. The next few posts will be comprised of my journey through the 3D pipeline from start to finish as I slowly build my chosen model, a rapier. I will be posting updates about my progress, and hopefully everything will turn out okay!

Starting with research today, I welcome you to:

Research.

The first step I took was to gather a variety of reference images. I went looking for high quality images taken from many different angles to help me later on with modelling.

Degen_by_Wendelin_BoeheimSwrod reference 3blade reference

I also took the liberty of labelling the individual parts of the blade for later on when I may need to make reference to them.

blade reference label jpgSwrod reference 33jpg

From what I can gather, I can see that the parts that will give me the most trouble and take the most time to complete are the pommel, grip and hilt, purely and simply because they appear to have the most detail of the entire object.

Part 7 Compositing and Video editing

Compositing and Video editing are the Last processes in our little pipeline I’m afraid. These two completed using Premiere Pro and were used for the rendering engine.

Compositing in the context of animation is when you bring layers together to form one resounding image.

Video editing falls under postproduction and is usually one of the last things to be completed. This is the stage where I would add in titles, audio, and any visual effects.
For the finished animation, I added in a short title ‘Pirates Gold’,
and also an end title, which I think fit the brief that the animation was to be made for an advertisement for a mobile game. I included two logos to give it some ‘authenticity’

Final Stage

Part 6 Lighting, and Rendering

Hello and welcome back to my blog. Last time we looked at scene assembly and what it entails. As we draw nearer and nearer to the end of the pipeline, I find myself getting more and more excited to see the finished result.

First up, we have Lighting.

Without adequate lighting in a scene, your final production will look somewhat underwhelming. Dark is one word that comes to mind. Of course, as outlined by the video tutorials that I have been following there are a few options when it comes to lighting.
The tutorial first had us configure our rendering settings, which as you can tell already lighting and rendering sometimes work closely together.
So, I configured my rendering settings to use Manta Ray for lighting at least. I later became unhappy with the rendering speed, and decided to use Quicksilver instead, as outlined by my tutor. I kept the lighting settings that manta ray had by default, and played around a bit with the sky dome, to achieve an image that didn’t look appallingly yellow.
I placed one Omni light, and then moved on to rendering out the final images.
omni
There seem to be thousands of options to choose from, when it comes to rendering, so I didn’t adventure far from what was outlined this time. I chose to save my files as png’s as they can always be recovered, and for the next stage I need still images rather than a video file, in order to use them in Premiere Pro for its rendering as a mp4

Part 5 Scene Assembly

We’re on the home stretch now with Scene Assembly- Part 7ish I believe of our pipeline. Scene assembly is what it exactly sounds. Bringing together all of the components into one nice max file.

Most of the assets were given to us, so it was just a matter of merging in a load of different files and arranging them suitably.

I moved grass textures around to frame the boarder of the game board, merged in the background, in our case the ‘sky dome’ and the sand. Then I ordered the layers so as not to have the chest drop poke through the floor.

After all of that, this is what my layers looked like.

layers visible in max

layers visible in max

Part 4 3D Pipeline Rigging and Animation

Hello, hello and welcome back to my blog! Last time, I talked about UV unwrapping and the texturing of my treasure chest. This week, we’ll be looking at two more VERY important, (but extremely rewarding and fun) components of the 3D pipeline.

Starting off with rigging, because that’s how I began the next phase of the animation. Giving a model rigging can be compared to giving something joints, muscles and well, vertebra. You can still animate without a rig, but it becomes a highly tedious thing, moving each part bit by bit. That’s where the genius advent of a rig comes into play. If you can give something a good rig, it’ll save you a lot of time.

Talking about the rigging for the chest specifically, this was a very simple thing to do. We just needed to adjust the pivot point of the lid to the hinge, make the base the parent in a hierarchy and voilà!  A rig good enough to animate with.

adjusting the pivot point of the lid will give you a nice little rig

adjusting the pivot point of the lid will give you a nice little rig

Animation comes next:

Something someone in my MDU115 class said something that inspired me to animate the chest in a certain way. I had an idea to make it look like it was possessed. I’m not sure how to explain it. I was watching ‘little shop of horrors’ and the whole coins scattering everywhere with the chest bursting open sort of just reminded me of Audrey the plant.

Back on topic, the animation for the chest was completed with key-frame animation. Using the timeline, I posed the chest and let the engine work out the in-betweens for me.

The animation for the Palm trees, Crabs, camera and starfish all came about while I was editing the final scene together.

All in all I would hazard a guess and say that the animation for the chest goes for about 200 frames out of the entire 480.