Hello, hello and welcome back to my blog! Last time, I talked about UV unwrapping and the texturing of my treasure chest. This week, we’ll be looking at two more VERY important, (but extremely rewarding and fun) components of the 3D pipeline.
Starting off with rigging, because that’s how I began the next phase of the animation. Giving a model rigging can be compared to giving something joints, muscles and well, vertebra. You can still animate without a rig, but it becomes a highly tedious thing, moving each part bit by bit. That’s where the genius advent of a rig comes into play. If you can give something a good rig, it’ll save you a lot of time.
Talking about the rigging for the chest specifically, this was a very simple thing to do. We just needed to adjust the pivot point of the lid to the hinge, make the base the parent in a hierarchy and voilà! A rig good enough to animate with.
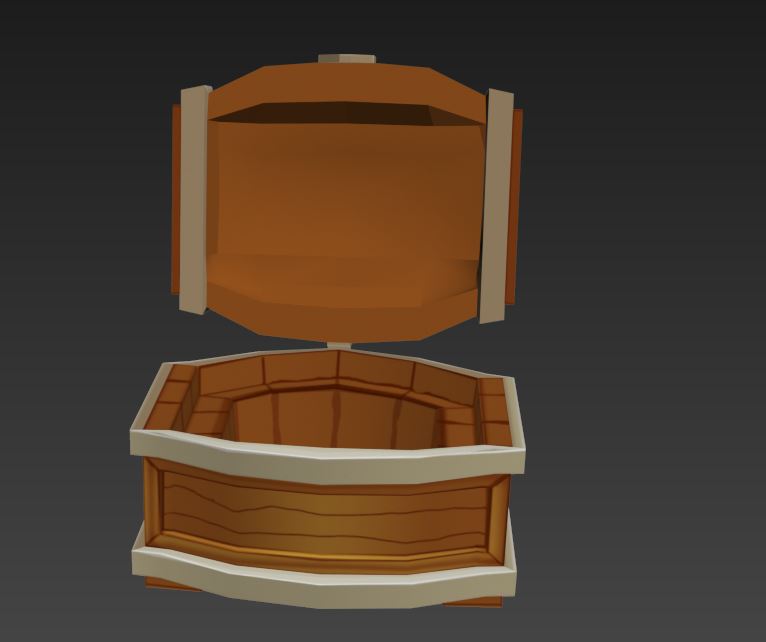
adjusting the pivot point of the lid will give you a nice little rig
Animation comes next:
Something someone in my MDU115 class said something that inspired me to animate the chest in a certain way. I had an idea to make it look like it was possessed. I’m not sure how to explain it. I was watching ‘little shop of horrors’ and the whole coins scattering everywhere with the chest bursting open sort of just reminded me of Audrey the plant.
Back on topic, the animation for the chest was completed with key-frame animation. Using the timeline, I posed the chest and let the engine work out the in-betweens for me.
The animation for the Palm trees, Crabs, camera and starfish all came about while I was editing the final scene together.
All in all I would hazard a guess and say that the animation for the chest goes for about 200 frames out of the entire 480.
